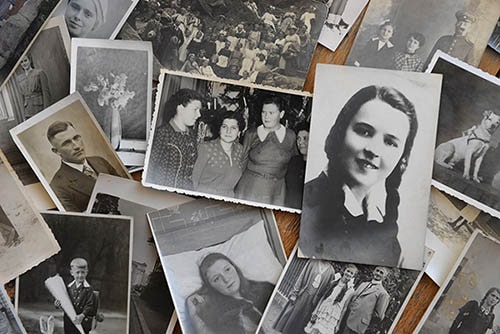
How to scan your old photographs
What to consider while scanning your old photographs
When it comes to good photo restoration one of the most important requirements is a proper scan of your photographs. If you apply our advice there is a very good chance that we can repair your old, damaged or faded photographs. Even heavy damages such as watermarks or missing pieces can be fixed.
There are certain adjustments you can easily apply to your scan which help you create the best possible outcome.
In this tutorial, we show you how to set up your scanner on both MacOS and Windows 10. This works with all manufacturers. For example, Epson, Brother, Kodak, Canon and so on
7 things to remember for scanning damaged photographs
Even if you are a complete beginner this tutorial will guide you through the process step by step.
1. Make sure your scanner is clean from dust and grease
2. Make sure your photograph is clean from dust
3. Make sure your photograph is being fully scanned
4. Try to avoid reflections while scanning
5. Always scan with at least 300 dpi
6. Always scan in 8bit color mode (photo mode)
7. Name your files according to what is on the photograph so you can easily find them in the future
1. Make sure your scanner is clean from dust and grease
In the very beginning check the glass surface of your scanner. Particles and fingerprints can create optical aberration or even hide details. So if it is dusty or greasy clean it. Use a microfibre cloth and glass cleaning detergent. Always let it dry before you put on your photograph.
2. Make sure your photograph is clean from dust
The same goes for the damaged photograph you like to scan. Dust or particles can hide important information while scanning the photograph. Only use a soft brush to clean it. Never use any force or detergent as this may result in damages in the emulsion of the photograph.
3. Make sure your photograph is being fully scanned
If you are scanning multiple photographs or pieces of one damaged photograph make sure they are not overlapping or being partially scanned. You can easily see how your scan will turn out be taking a look at the preview section.
4. Try to avoid reflection while scanning
Wrapped, torn or damaged photographs often cause reflections during the scan process. These reflections can hide details of important parts of the photograph. There are two ways to approach that problem. The first option is to flatten the old photograph. You can try to do that with weights and books. Simply put your damaged photograph in between two heavy books and wait for a day or two. The second option is to put weight on the top of your scanner. This way the vintage photograph gets pressed on the scanner surface. Both options help to minimize the reflections while scanning.
5. Always scan with at least 300dpi
We as a professional photo restoration service need data that is at least scanned with 300dpi. This way we can guarantee you that you can print your reproduced and restored photograph with the same size as the original one. If you like to enlarge the photograph please scan with 600dpi. To see how to set up the DPI take a look at the videos below.
6. Always scan in 8-bit color mode (photo mode)
Always scan your vintage photograph in 8-bit color mode, even if it is a black and white photograph. This setting creates the best quality images and enables us as a professional photo restoration service to deliver the best results. Check the video below to see how it’s done.
7. Name your files according to what is on the photograph so you can find them easily in the future
This is a very simple but important advice. This ensures that you will find your photographs in the future.
To make things even more easy for you we have created video tutorials for both MacOSX and Windows 10. Both videos cover all manufacturers.
Video Tutorials
Here is the tutorial on how to scan your photos properly on a Mac computer:
Here is the tutorial on how to scan your photos properly on a Windows 10 computer: