How to digitize old photos with your smartphone
Digitizing old family photos
We have already talked about the best way to digitize your old family photos with a scanner. But not everyone has a scanner at home. Nevertheless, over the last years, smartphones became widely popular and their built-in cameras are becoming better day by day.
So in this tutorial, we will share the general framework that works best for digitizing photographs simply by using your smartphone.
Is my smartphone’s camera good enough?
That’s a good question! Depending on how old your smartphone is the quality of your camera differs. In general, smartphones, which are no older than two years should be fine. However, you have to make sure to provide the best available environment to be able to create high-quality shots of your vintage prints. Even the best camera will take terrible photos when you’re using it in the wrong environment. To know what’s the perfect set up keep on reading.
Using your smartphone as a scanner
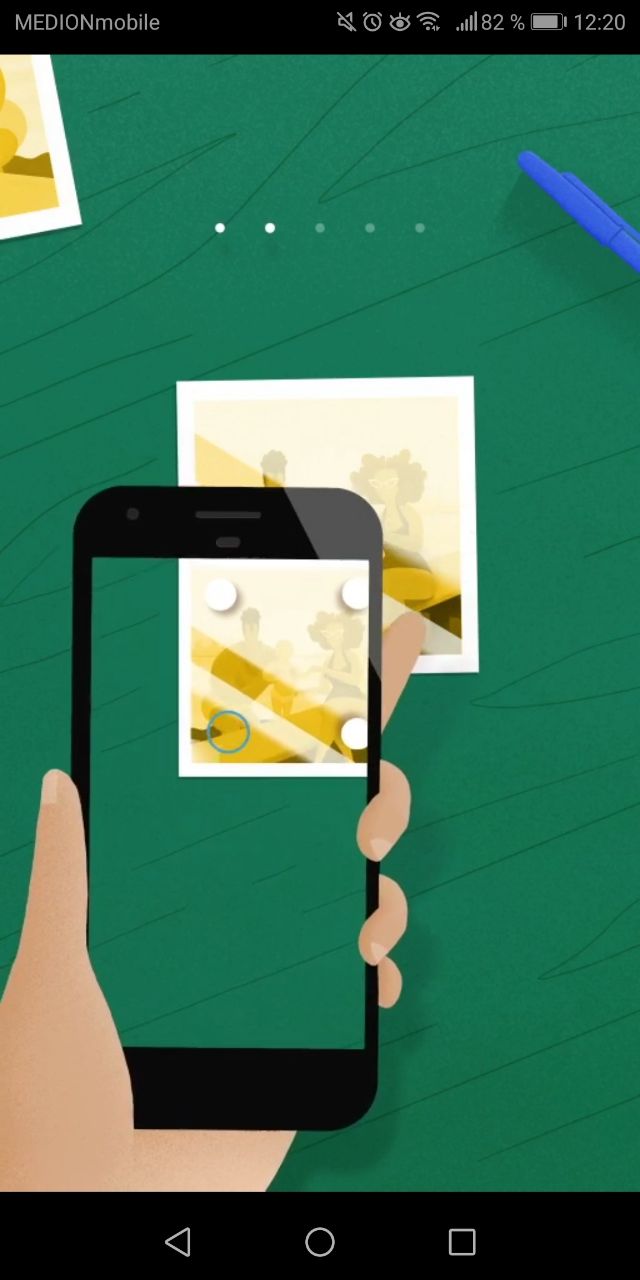
Taking photos of your photographs is actually pretty easy if you apply some simple guidelines. Make sure to read the following steps properly to get the best results. For this tutorial, we are using Google’s PhotoScan app.
- Go to a bright room with plenty of natural light
- If it’s already dark outside you can also use an artificial light source. Nevertheless, you have to make sure that you are only using a bright and even light source.
- Mixing different light sources results in color shifting.
- Spotlights create inhomogeneous exposure of the photograph
- If it’s too dark your photograph will become grainy or even blurry
- Either use available light or artificial light. Mixing both will result in color shifting.
- Try to avoid the built-in flash of your smartphone
- In doubt always wait until the next day and use the natural sunlight
- Put your photos on a flat and monochrome surface (best is grey or white)
- Flatten them as much as possible
- Make sure the photograph is not exposed to direct sunlight as this can cause reflections and shadows
- Download Google’s free PhotoScan app, available for both Android and iOS
- Scan your photos as shown in the built-in tutorial
- Get as close as possible to the image – try to line up the borders of your image to the PhotoScan frame
- Try to hold your smartphone as steady as possible
- Let the app do the work
- Enjoy your digitized photograph
Why you should be using a scanner app
Well, actually it is possible to simply photograph the image you like to digitize with your built-in the camera app. However, these apps are not built for that purpose. Apps like Google’s PhotoScan or Apple’s Notes are solely built to create high-quality reproductions of documents and photographs.
How come?
First of all, it’s very hard to perfectly align your smartphone to the photograph you like to take a photo of. This almost always causes distortions and nonparallel lines. Second, due to their shiny surface old photographs tend to reflect light. This causes reflexions which then can hide important details of your photograph. All these errors have to be manually repaired and restored after taking the actual photo. This process is very time consuming and impractical.
By using computational photography professional scanner apps take multiple photographs, which are combined to a single glitch-free photograph.
The limits of PhotoScan and Co
If the environment is right apps like PhotoScan and iOS Notes do a good job! Their built-in computational software works great in decreasing reflexions and aligning the photograph. This especially comes in handy when your image has been damaged and your regular scanner is unable to scan it without reflexions.
But there are also limitations to apps like this. On the technical side, your resolution is determined by the pixels of your camera. The older models, therefore, will create worse images than the brand new iPhones and Samsung smartphones. As the process cannot be standardized the images will never look the same. Furthermore, it is very hard to create a 1:1 reproduction as the real size of the photographed print is not saved to the file. This is different when scanning old photographs. But most importantly the overall resolution and detail of such “scans” cannot be compared to a real scan produced with a scanner.
Using such apps is nice to quickly create a digital image of your photograph but should not be used for serious digitization.
Although Google’s PhotoScan works with computational processes damage like cracks, water damage or torn pieces cannot be restored by the app. These photographs have to be manually restored by professional photo restoration service like us.
However, for quality reasons, we prefer scans created with a scanner. Working with high-resolution images is mandatory for good restoration work.
Luckily nowadays scanners are easy to use and cheap.
Read more about scanning your images with a scanner here.